Creating a Project | Flowcase
Create your first project
In Flowcase you can create projects, upload images to project versions, tag projects and record changes as versions progress. Creating a project is easy, but there are a few steps you can take before creating a project that will make this easier and help you to avoid editing the projects details later.
Initial setup:
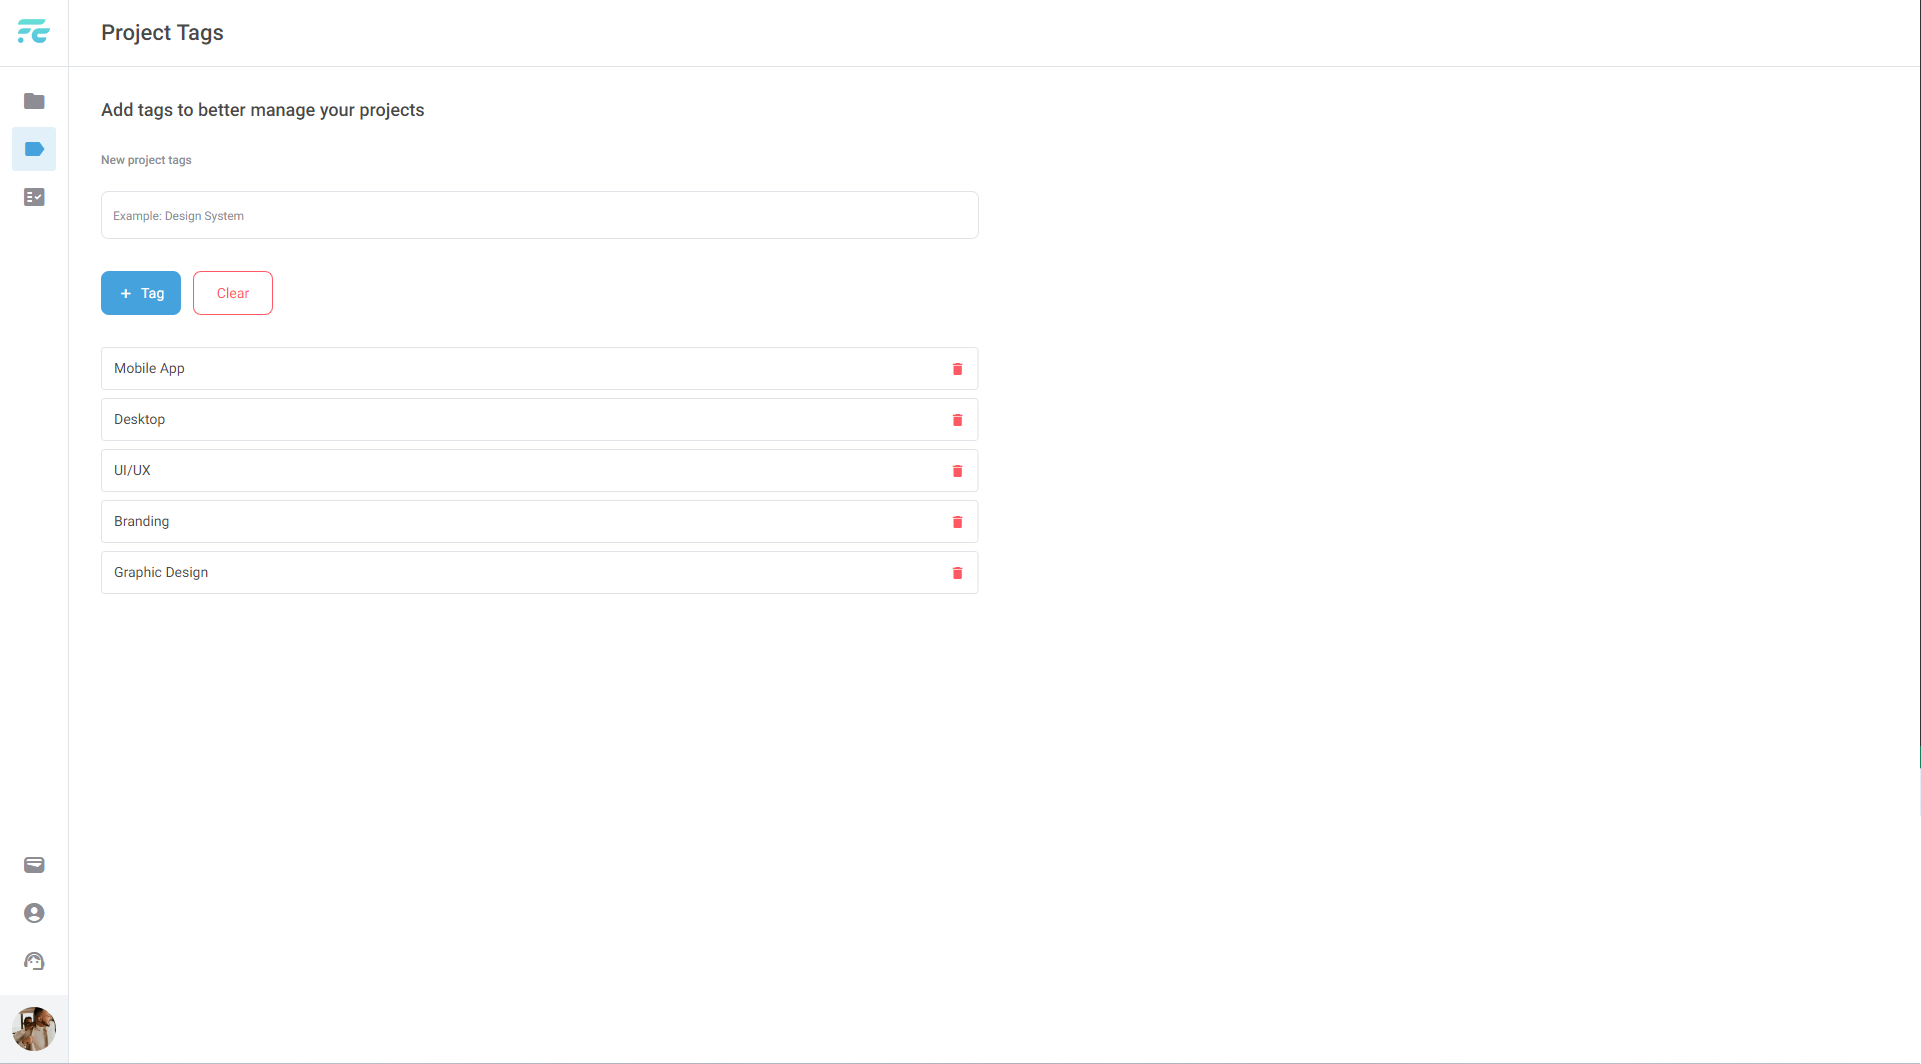
1. Create project tags
2. Create approval tags
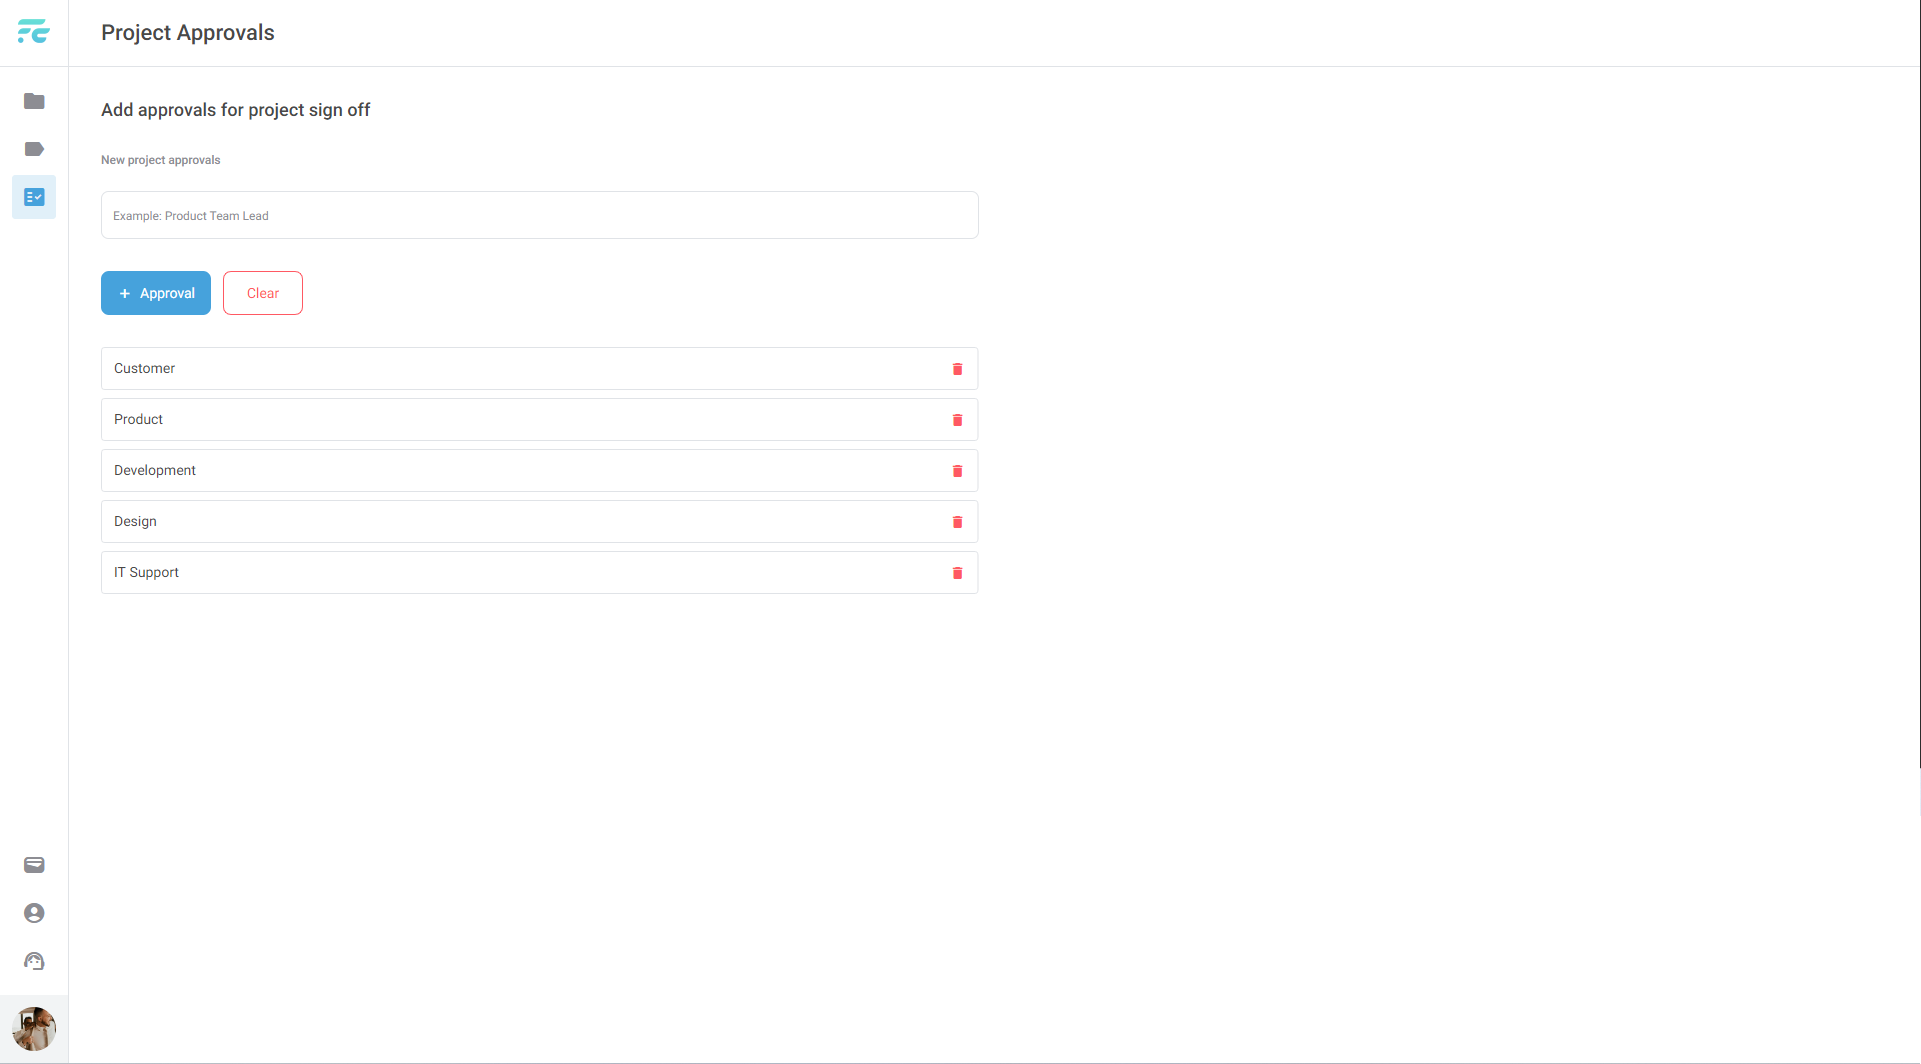
These tags will help you further down the line when you are creating newer versions of the project. Here you may wish to include tags such as Customer, Development Team or the Product Manager. As to ensure the appropriate parties have viewed and signed off on the version, changes or which ever metric you choose to measure success by.
Creating the project:
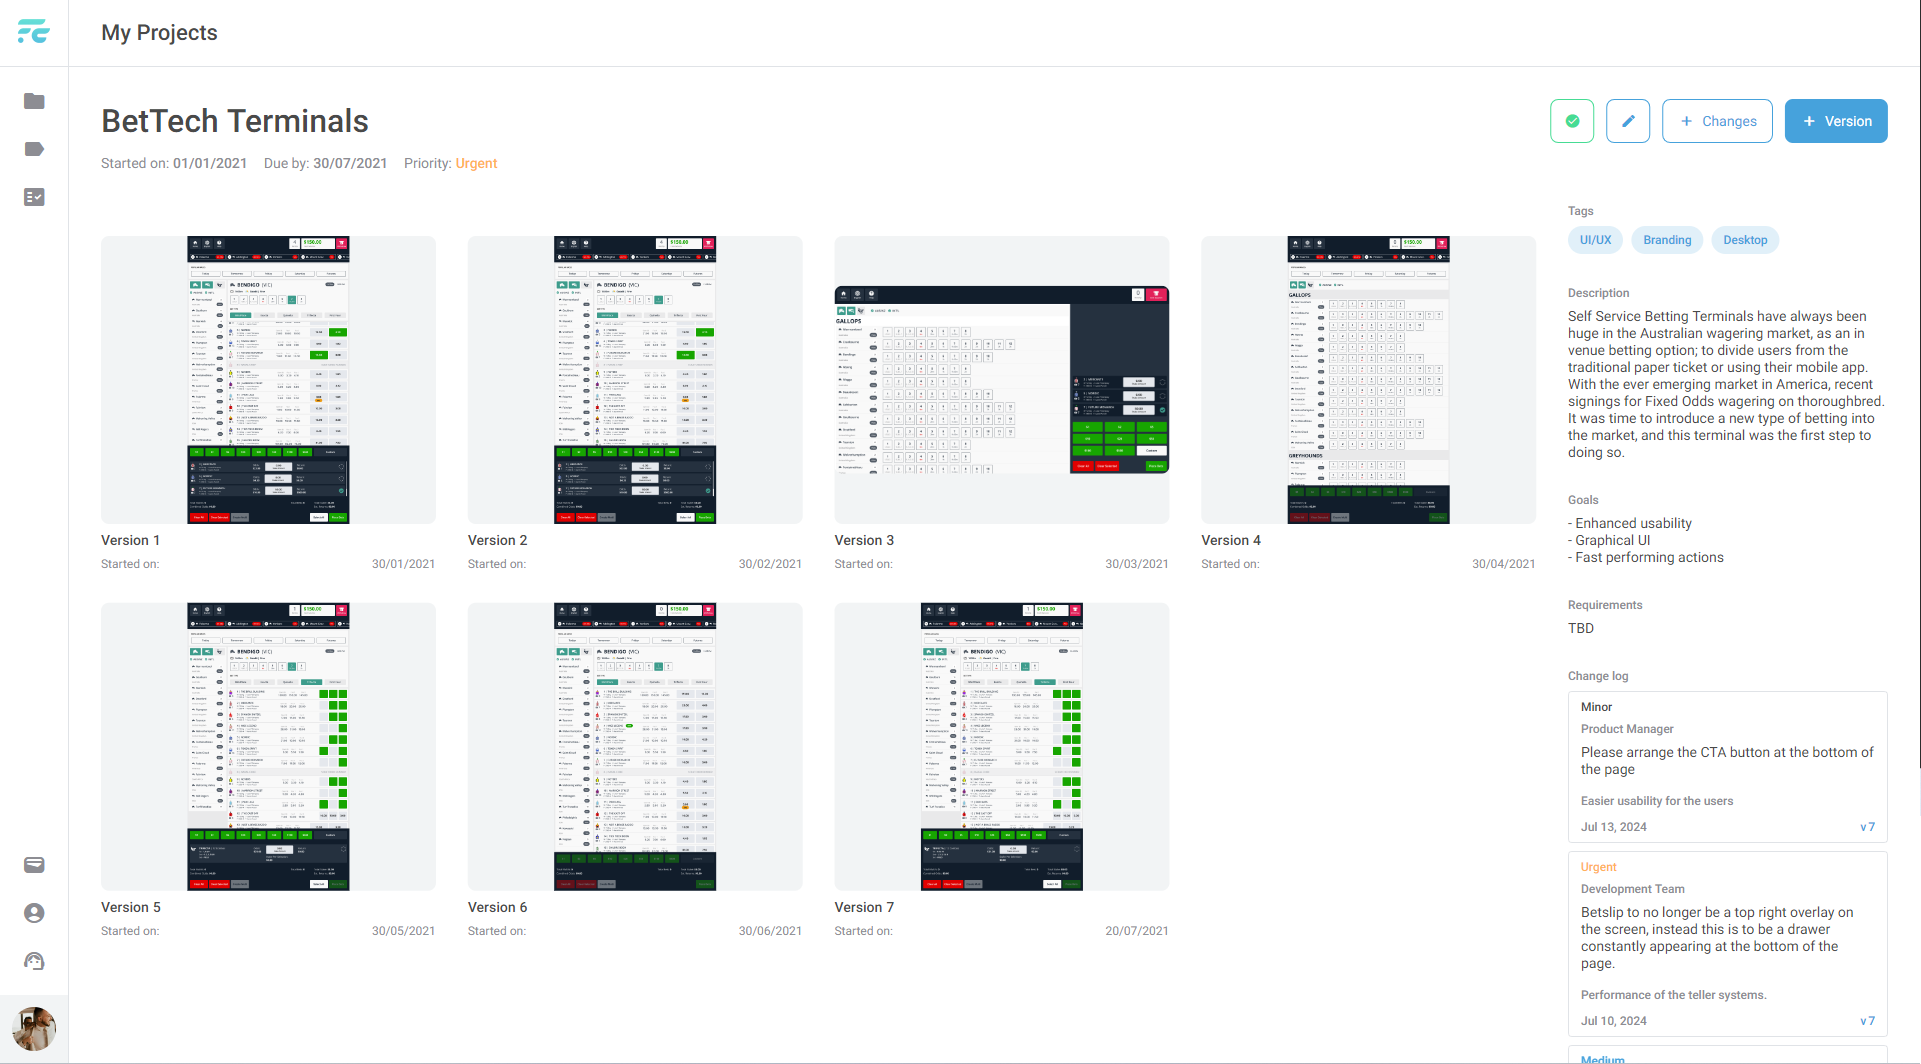
1. On the project page you will notice the add project button, this button will launch the project details page.
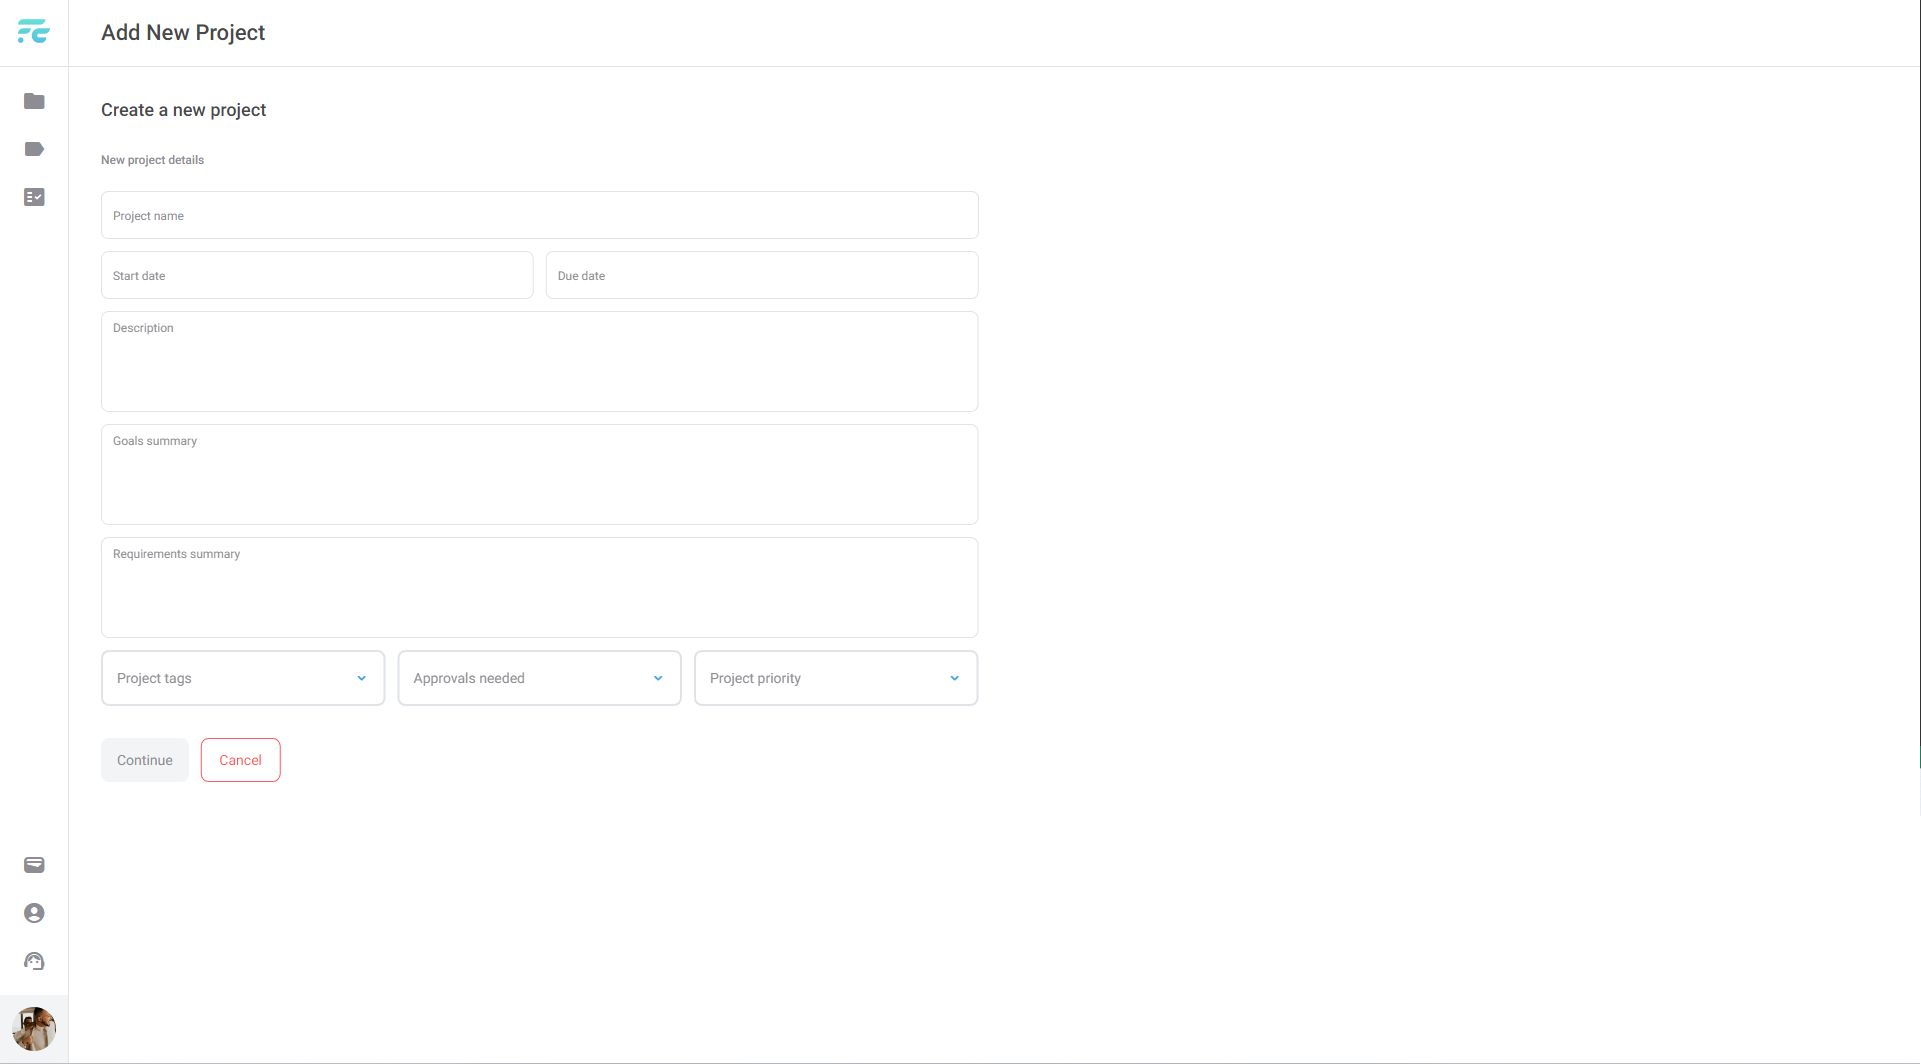
2. On the add projects page you will be able to configure the project by adding the name, start date, due date, description, goals, requirements, tags, approvals and the projects priority.
Once complete, the project will be added and you will be free to begin adding versions, designs and changes to your project. It is important to note that your project will not have a cover image until you have added your first version, this cover image will update with each version, ensuring you have a preview of the latest version on the projects page.